Preface
Goal: Examine arch install for multiboot situation.
The last time I wrote about Arch install is in 2014 (nine years ago).
I do every single command in black TTY terminal under arch installer. But for illustration, I give it some white terminal screenshot. So my article could be easier to be read.
Reading
Nine years ago I wrote this: Arch philosophy is about knowing your system. It doesn’t give fancy installer. In fact you have to do it all manually with command line without installer. Before you step in, you have to be brave to walk with command line. And be sure you have read the manual.
The difference is, now you can have archinstall script that can guide you, and that means you can entirely skip this article.
I still prefere manual install. Because I still need to update my knowledge.
Rewrite
Nine years ago I wrote this article:
It is worth the risk. Your few days of installing Arch give you more knowledge than a year with Kali. After you get the knowledge for a while, you can install it again in just a few minutes.
Many beginners asking for guidance to install Arch. There is actualy two steps. First step is Install Vanilla Arch itself. Until you get your first root login after boot. The second step is Post Install. e.g. setup Wireless, or setup WM/DE (Desktop Environment).
If you feel that you are not ready for Arch, you can still improve your skill with other distro.
Table of Content
- Table of Content
- A: Prepare the Bootable
- B: BIOS and Windows Setting
- C: Partition Setup
- D: Wireless Connexion
- Arch :: Install Log
- 1: Changing Root
- 2: Basic Setting
- 3: Prepare System
- What is Next?
Backup
Better safe than sorry
For multiboot situtation, the longest time you need to do is not installling. But, backup.
Please prepare your journey by backuping your data first.
A: Prepare the Bootable
Flash Disk
If you are a windows user, you can use rufus.
Linux user would simply love dd.
Since I also use pipe to pv,
and pipe don’t do well with sudo,
I intentionally use sudo ls,
so the next command (dd and pv) already has the priviliges.
$ sudo ls
$ sudo dd \
  if=/media/Works/archlinux-2023.06.01-x86_64.iso \
  | pv -s 900M |sudo dd \
  of=/dev/sda bs=4096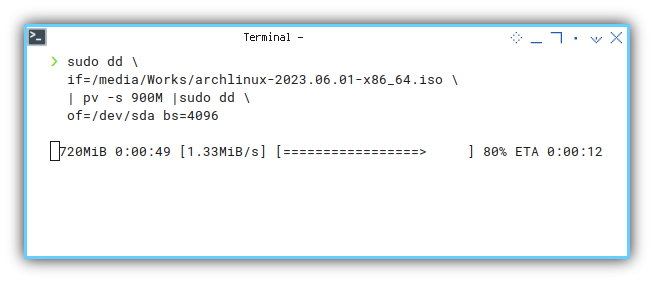
B: BIOS and Windows Setting
Yes we need to learn to coexist.
BIOS Setting
Please disable the boot secure.
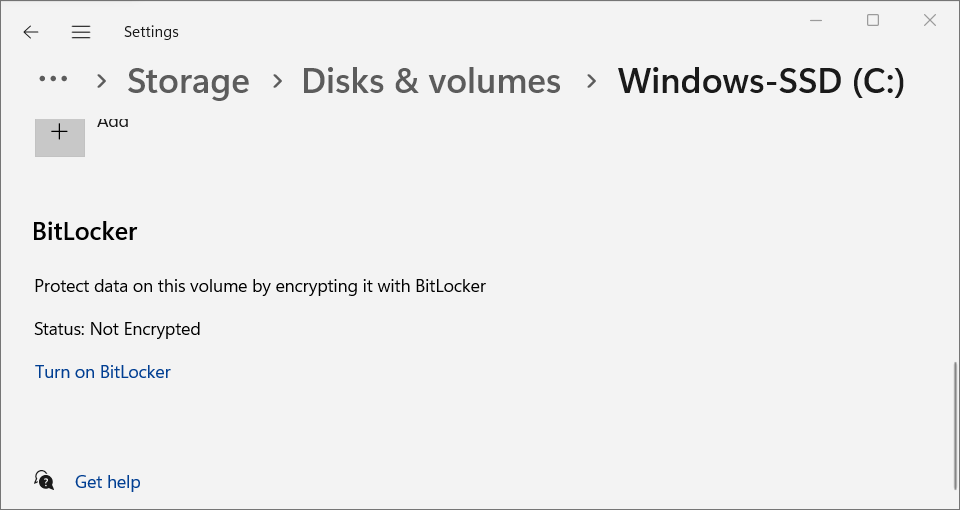
Windows Setting
If you are using Windows 10 or later,
without boot secure, you need to disable bitlocker.
C: Partition Setup
As usual we need to prepare the partition.
Planned Partition
My SSD capacity is about 500 GB, This is what I plan.
Windows: 200 GB ntfs
Docs:     60 GB ntfs
Works:    60 GB ext4
Arch:     75 GB ext4
In real life situtation
We have to deal with /boot/efi,
and also swap.
Win11 EFI: 260 MB
Windows:   195 GB ntfs
Docs:       59 GB ntfs
SWAP:       14 GB swap
Works:      59 GB ext4
Arch:       74 GB ext4
Empty:      74 GB ext4
Recovery:   2 GB
--------------------
Total     477 GB
I also preserved about 74 GB empty space for Gentoo. Note that the number is rounded, and the total sum is just approximation.
Real Partition
I’m using the free Easeus to manage the partition. First I create the Docs as NTFS. Then I create empty space for swap, rot and other partition as well.
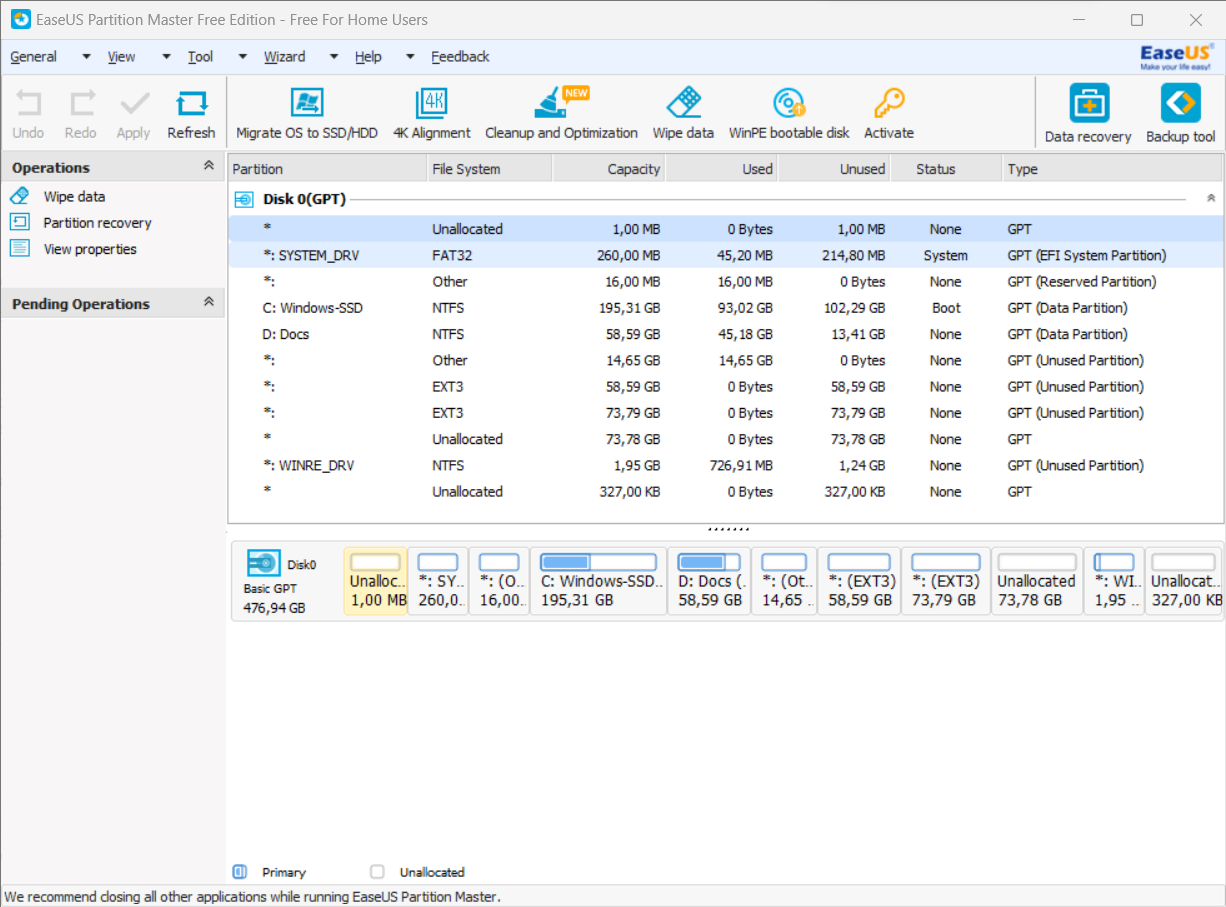
As a linux user, you can see the GPT artition structure is flat, different with MBR.
❯ lsblk
NAME        MAJ:MIN RM   SIZE RO TYPE MOUNTPOINTS
nvme0n1     259:0    0 476.9G  0 disk
├─nvme0n1p1 259:1    0   260M  0 part /boot/efi
├─nvme0n1p2 259:2    0    16M  0 part
├─nvme0n1p3 259:3    0 195.3G  0 part /media/System
├─nvme0n1p4 259:4    0  58.6G  0 part /media/Docs
├─nvme0n1p5 259:5    0  14.6G  0 part [SWAP]
├─nvme0n1p6 259:6    0  58.6G  0 part /media/Works
├─nvme0n1p7 259:7    0  73.8G  0 part /
└─nvme0n1p8 259:8    0     2G  0 part
The docs is, my data partition in windows. And the works is, my data partition for daily usage in linux.
Reading
For more multiboot fun, you can read in my other article series.
D: Wireless Connexion
This is something you can try in other linux, as practice preparation, before you get into real arch linux installation.
❯# iwctl

[iwd]# device list
[iwd]# device wlan0 set-property Powered on
[iwd]# station wlan0 scan
[iwd]# station wlan0 get-networks
[iwd]# station wlan0 connect "E.R. Nurwijayadi"
[iwd]# exit

❯# ping archlinux.org
The arch linux install comes with this good iwd.
More about iwd can be read here:
iwd is definitely easy to be used.
Arch :: Install Log
Let’s get into it. Boot the arch installer. And see what we’ve got.
First impression
What I feel is the boot take a little bit longer than I expect. Maybe it becuase of my notebook.
Then I found that sometimes my terminal suffocated with a lot of information. I try to reboot, then it’s gone. But sometimes it comes again, very annoying. I solve this with this two commands:
❯# auditctl -e0
❯# dmesg -n 1
Wireless Connexion
Connecting to the internet
Yes, of course, first thing to do is,
connecting to the internet.
As I said you can use iwd.
After connected with internet,
you can immediately use timedatectl.
❯# timedatectl1: Changing Root
Formatting The Root Partition
I wpuld like a fresh start.
So I format the nvme0n1p71 partition with ext4.
❯# mkfs.ext4 /dev/nvme0n1p7Mount All Partition
We are going to chroot, so we need to mount all required partition.
❯# mount /dev/nvme0n1p7 /mntAnd also the EFI part.
❯# mkdir /mnt/boot/efi
❯# mount /dev/nvme0n1p1 /mnt/boot/efi
And finally the swap.
❯# swapon /dev/nvme0n1p5Note that, some tutorial mount the EFI in /mnt/boot/.
But I choose different method.
Base Install
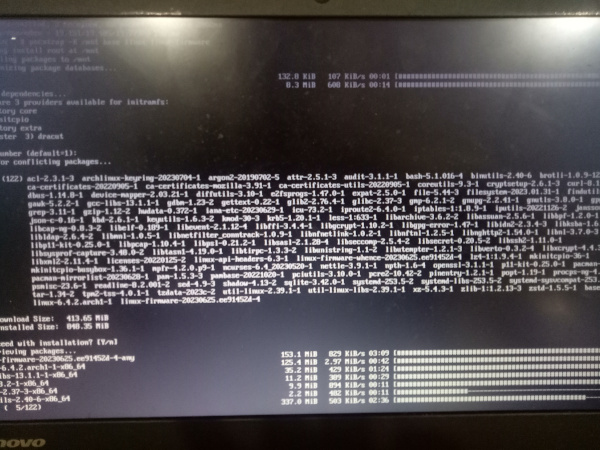
Now we can fill with some basic packages, required to run the system.
❯# pacstrap -K /mnt base linux linux-firmwareYou are going to see packages downloaded from internet, similar to below figure:
Generate File System Configuration
And we also need to configure fstab,
in order to chroot.
❯# genfstab -U /mnt >> /mnt/etc/fstabChange Root
This is the most important part. Changing the root, from the arch installer, into your newly installed one.
❯# arch-chroot /mntI’m a fan of chroot in multiboot situation. You can also chroot, from any running linux partition. Not just arch installer from bootable flash disk, but also from different partition.
Mount
I would like to know the result of our previous genfstab.
Since it has a lot of comment #,
I filter using -v grep exclusion .
❯ cat /etc/fstab | grep -v "^#"


UUID=6d64b51a-155e-4c9e-9a3c-d19abebc5126  /           ext4        rw,relatime  0 1

UUID=3E7D-B1CB        /boot/efi   vfat        umask=0077 0 2

UUID=b125fe63-4ae8-4228-9e6b-9475081dce86  swap        swap    defaults,noatime 0 0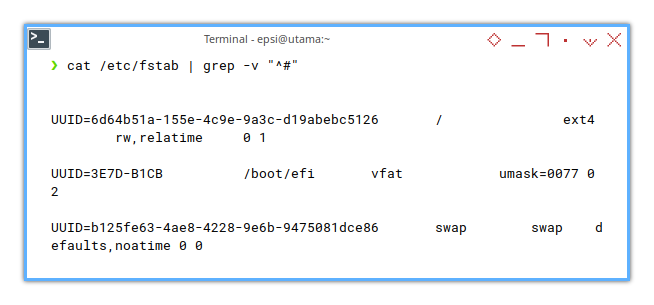
The fstab format is concise,
but it doesn’t seems clear to me in narrow terminal.
so I’d better use findmnt instead.
❯ findmnt -su
TARGET    SOURCE               FSTYPE OPTIONS
/         UUID=6d64b51a-155e-4c9e-9a3c-d19abebc5126
                               ext4   rw,relatime
/boot/efi UUID=3E7D-B1CB       vfat   umask=0077
swap      UUID=b125fe63-4ae8-4228-9e6b-9475081dce86
                               swap   defaults,noatime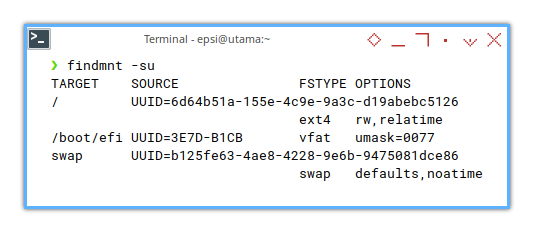
Text Editor
I really think that text editor can be useful.
❯# pacman -S nanoDo this inside the chroot.
2: Basic Setting
Localtime
Localtime: Asia/Jakarta
❯# ln -sf /usr/share/zoneinfo/Asia/Jakarta /etc/localtimeClock
❯# hwclock --systohcLocale
Also uncomment your chosen locale, or just write it if you dpn’t have any text editor already.
❯ cat /etc/locale.gen | grep -v "^#"
en_US.UTF-8 UTF-8
Here I invert the grep with -v.
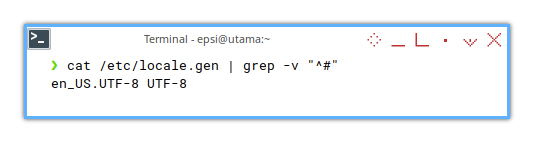
Now we have required file to build by locale-gen
❯# locale-genThe system wide setting,
that actually used the locale is in the conf file.
touch /etc/locale.conf
nano /etc/locale.conf
You can still set without text editor.
❯# echo LANG=en_US.UTF-8 > /etc/locale.conf❯ cat /etc/locale.conf
LANG=en_US.UTF-8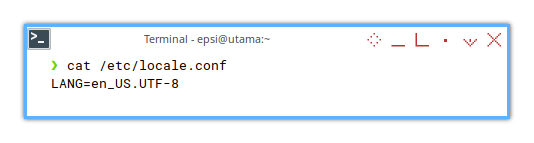
Hostname
Let’s change a bit,
such as utama is the hostname I want.
❯# touch /etc/hostname
❯# nano /etc/hostname
Now we see what’s in there.
❯ cat /etc/hostname
utama
3: Prepare System
Initial Ramdisk
I understand in install process we become doer, without really understanding of what is really going on.
mkinitcpio -PThis will make the initramfs as below:
❯ ls /boot
efi   initramfs-linux-fallback.img  vmlinuz-linux
grub  initramfs-linux.img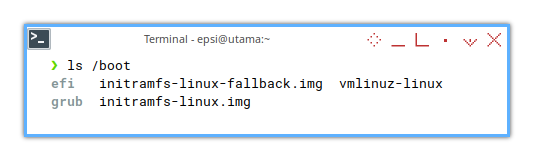
If you are curious you can go further examining,
by uisng lsinitcpio after you finish your install,
and do not forget the sudo thing.
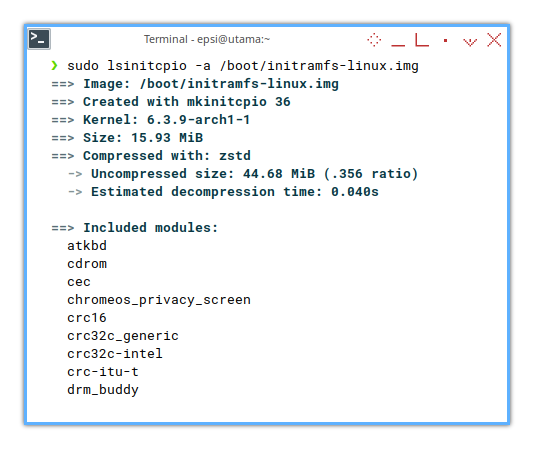
❯ sudo lsinitcpio -a /boot/initramfs-linux.img
==> Image: /boot/initramfs-linux.img
==> Created with mkinitcpio 36
==> Kernel: 6.3.9-arch1-1
==> Size: 15.93 MiB
==> Compressed with: zstd
  -> Uncompressed size: 44.68 MiB (.356 ratio)
  -> Estimated decompression time: 0.040s

==> Included modules:
  ...

==> Included binaries:
  blkid        mount
  busybox      switch_root
  e2fsck      systemd-tmpfiles
  fsck        udevadm
  kmod

==> Early hook run order:
  udev

==> Hook run order:
  udev keymap

==> Cleanup hook run order:
  udev
We can do it later.
Root Password
This is also a task you don not want to forget.
❯# passwd
New password:
Retype new password:
passwd: password updated successfully
If you forget, you can always chroot.
GRUB Install
I should learn new knowledge about EFI stuff.
❯# grub-install --target=x86_64-efi --efi-directory=/boot/efi --bootloader=GRUB
Installing for x86_64-efi platform.
Installation finished. No error reported.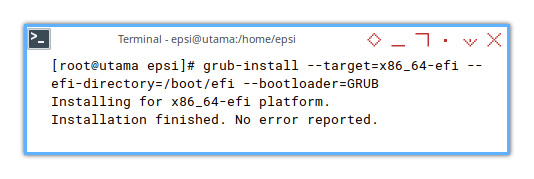
The command would install the grubx64.efi
or something similar.
❯ sudo ls /boot/efi/EFI
Boot  GRUB  Microsoft
❯ sudo tree /boot/efi/EFI/GRUB
/boot/efi/EFI/GRUB
└── grubx64.efi

1 directory, 1 file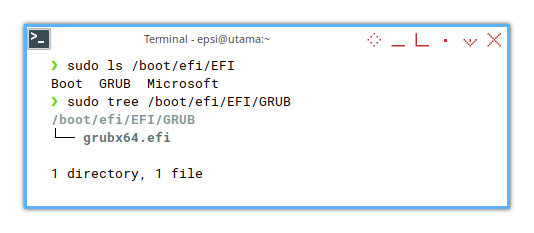
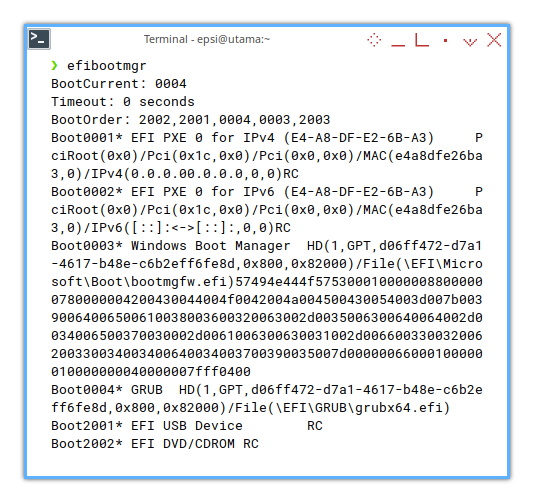
We require the EFI boot manager, to understand the situation.
❯# pacman -S grub efibootmgrNow you can see this:
❯ efibootmgr
BootCurrent: 0004
Timeout: 0 seconds
BootOrder: 2002,2001,0004,0003,2003
Boot0001* EFI PXE 0 for IPv4 (E4-A8-DF-E2-6B-A3)   PciRoot(0x0)/Pci(0x1c,0x0)/Pci(0x0,0x0)/MAC(e4a8dfe26ba3,0)/IPv4(0.0.0.00.0.0.0,0,0)RC
Boot0002* EFI PXE 0 for IPv6 (E4-A8-DF-E2-6B-A3)   PciRoot(0x0)/Pci(0x1c,0x0)/Pci(0x0,0x0)/MAC(e4a8dfe26ba3,0)/IPv6([::]:<->[::]:,0,0)RC
...
Grub Configuration
With BIOS managed boot, we do not need to worry about windows boot in the first place. This means, we can ignore os-probe while doing installation, and take care of the windows boot in GRUB later on.
❯# grub-mkconfig -o /boot/grub/grub.cfgYour screen would output text similar to this menu entry:
Generating grub configuration file ...
Found linux image: /boot/vmlinuz-linux
Found initrd image: /boot/initramfs-linux.img
Found fallback initrd image(s) in /boot:  initramfs-linux-fallback.img
...
The configuration itself would looks like something below:
### BEGIN /etc/grub.d/10_linux ###
menuentry 'Arch Linux' --class arch --class gnu-linux --class gnu --class os $menuentry_id_option 'gnulinux-simple-6d64b51a-155e-4c9e-9a3c-d19abebc5126' {
  load_video
  set gfxpayload=keep
  insmod gzio
  insmod part_gpt
  insmod ext2
  search --no-floppy --fs-uuid --set=root 6d64b51a-155e-4c9e-9a3c-d19abebc5126
  echo  'Loading Linux linux ...'
  linux  /boot/vmlinuz-linux root=UUID=6d64b51a-155e-4c9e-9a3c-d19abebc5126 rw  loglevel=3 quiet
  echo  'Loading initial ramdisk ...'
  initrd  /boot/initramfs-linux.img
}
OS Prober
I will skip this part. My goal is succeed in booting linux.
The windows menu configuration can be configured later after boot.
Prepare Post Install.
Networking is only one thing to be rpepared for post install.
So you’d better install iwd in the first place.
You can change to network manager later.
Or if you can also install network manager.
❯# pacman -S iw iwd wpa_supplicant networkmanager dhcpcdReboot
That is all.
We can finally exit your chroot.
go back to acrh installer.
Then reboot.
❯# umount -R /mnt❯# poweroffCheck if your arch linux can boot correctly using EFI from BIOS. Also check from BIOS if your windows boot is still there, and run correctly.
What is Next 🤔?
Form Installment, we can dive into post installment.
Consider continue reading [ Arch: Post Install ].