Preface
Goal: Minimal arch install configuration.
The first thing to do after boot is of course login in TTY. After first boot and first login, our duty is not complete yet. We still need to setup user administration. Then we scan setup GUI as soon as possible, so we can easily do more basic administration.
Table of Content
- Table of Content
- Networking
- User Administration
- GUI Display
- Init: Service Manager
- Basic Tools
- What is Next?
Networking
After login, my needs is to connect to internet, so I can get required package to do basic administration.
Let’s ping. My expectation is failure.
❯# ping archlinux.org
Temporary failure in name resolution
❯# ping 8.8.8.8
Network is unreachable
Using iwd
If you are in a hurry, you can use iwd.
I do not use iwd for daily basis.
I provide, an article for iwd in this article series.
Network Manager
I use NetworkManager for daily basis.
What I do is simply this below:
❯# systemctl enable wpa_supplicant.service
❯# systemctl start wpa_supplicant.service
❯# systemctl enable NetworkManager.service
❯# systemctl start NetworkManager.service
❯# systemctl enable dhcpcd.service
❯# systemctl start dhcpcd.service
Networking deserve an article of its own. So I won’t give the detail here. The detail of the command can be found in other article, provided in this article series.
User Administration
Adding User
You can just make a user, and add this user in a wheel group.
For example this one will create user rizqi with group rizqi.
❯# useradd -m -G wheel rizqi
❯# passwd rizqi
Or you can make different name for the group.
For example this one will create user epsi in a group users.
This way you can omit to create a specific user group.
❯# useradd -m -g users -G wheel -s /bin/bash epsi
❯# passwd epsi
The Artefact
passwd, group, shadow, gshadow
Now we can check the result
❯ cat /etc/passwd | grep "bash"
root:x:0:0::/root:/bin/bash
epsi:x:1000:984::/home/epsi:/bin/bash
rizqi:x:1001:1001::/home/rizqi:/bin/bash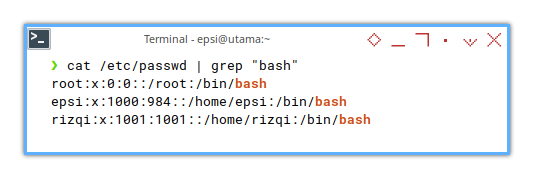
❯# cat /etc/group \
| grep "root\|epsi\|rizqi\|user"
root:x:0:brltty,root
wheel:x:998:epsi,rizqi
users:x:984:
rizqi:x:1001: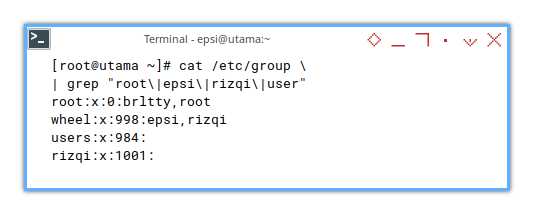
❯# cat /etc/shadow \
| grep "root\|epsi\|rizqi"
root:$ ... :19539::::::
epsi:$ ... :19511:0:99999:7:::
rizqi:$ ... :19517:0:99999:7:::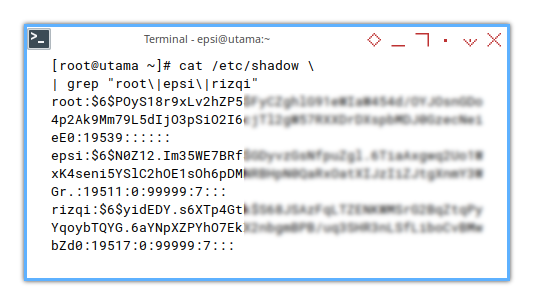
❯# cat /etc/gshadow \
| grep "root\|epsi\|rizqi\|user"
root:::brltty,root
wheel:!*::epsi,rizqi
users:!*::
rizqi:!::
Sudoers
We are not finished yet. We still need to setup privilege for sudo. This means who can do sudo, and how the password asked.
❯# pacman -S sudo
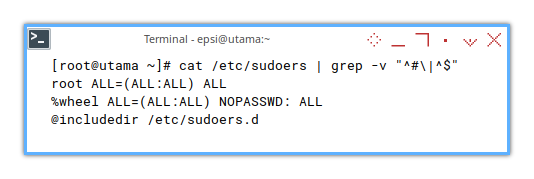
❯# nano /etc/sudoersInstead of setting per user,
you can set the wheel group.
❯# cat /etc/sudoers | grep -v "^#|^$"
root ALL=(ALL:ALL) ALL
%wheel ALL=(ALL:ALL) NOPASSWD: ALL
@includedir /etc/sudoers.d
I grep all blank lines and commented lines.
Die hard veteran would love visudo
❯# pacman -S vi visudo
❯# visudo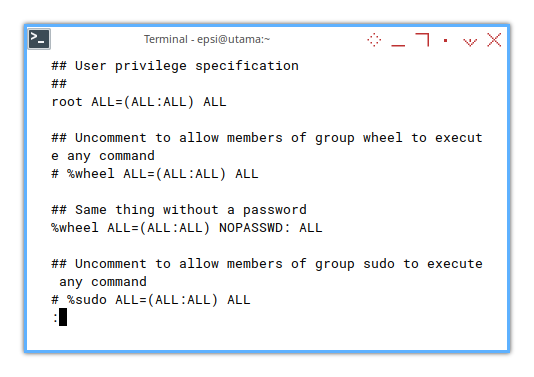
Now try login in TTY for user that you made.
Change Shell
bash is not the only shell,
you can change to other shell.
First you have to install the shell.
❯# pacman -S zsh fishAnd change the shell.
❯ chsh -s /bin/zsh
Changing shell for epsi.
Password:
Shell changed.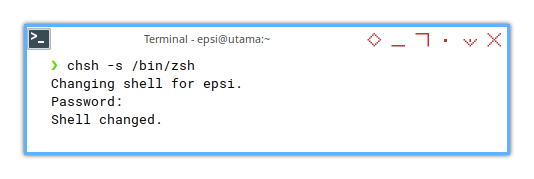
And finally, check the result in user administration.
❯# cat /etc/passwd \
| grep "bash\|zsh"
root:x:0:0::/root:/bin/bash
epsi:x:1000:984::/home/epsi:/bin/zsh
rizqi:x:1001:1001::/home/rizqi:/bin/bash
GUI Display
Setting up GUI with xorg/wayland
It is a good time to setup GUI. With GUI we can configure stuff easier. I would like to set up xorg first. Then wayland later.
I understand display server deserver an article of its own. So I make it quick here, and I will discuss the detail later.
Display Server
xorg
First the xorg itself
❯# pacman -S xorg-server xorg-xhost xorg-xwayland xorg-xinit I don’t know if I could install wayland wthout xorg at all.
Desktop Manager
I like lightdm,
but unfortunately it doesn’t work well with wayland.
So use sddm instead.
❯# pacman -S sddmYou can enable.
❯ sudo systemctl enable sddm
Created symlink /etc/systemd/system/display-manager.service → /usr/lib/systemd/system/sddm.service.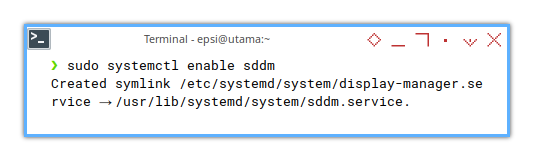
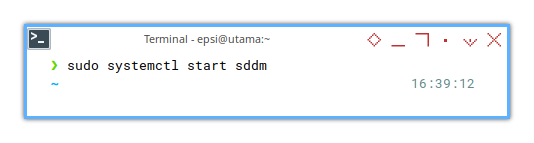
Then start from TTY.
❯ sudo systemctl start sddmyou need to relogin if you are already in window manager.
Or you can stop and disable, so you can learn how to run window manager, directly from TTY.
❯ sudo systemctl disable sddm
Removed "/etc/systemd/system/display-manager.service".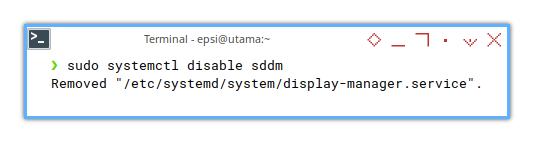
Window Manager
Let us check the window manager
❯# pacman -S i3-wm swayi3 in xorg with picom compositor.

sway in wayland

Desktop Manager
Beginner would love xfce4.
❯# pacman -S xfce4 xfce4-goodies
Personally, I prefer to use AwesomeWM. But I know Awesome is not for everbidy especially beginner.

I’ve been using this AwesomeWM in about four years. Just simply because I do not have time, to explore other goodies.
Screenshot
For the screenshot, I use this tools.
Because wayland require different screenshooter.
❯# pacman -S scrot grim swappySecond Account
For some weird reason, I need two accounts. And sometimes I need to run GUI for other account, without switching desktop. this can be done by this.
❯ xhost local:
non-network local connections being added to access control list
Now I can navigate my alternate account, using any file manager.
❯ sudo -u rizqi caja &!Init: Service Manager
Init manage what daemon running. The simple terminology for init is service manager.
Init require its own article. However for a glance of overview, This is what we have for daily basis.
systemd
Vanilla Arch is using systemd.
You can check running services using this command:
❯ systemctl status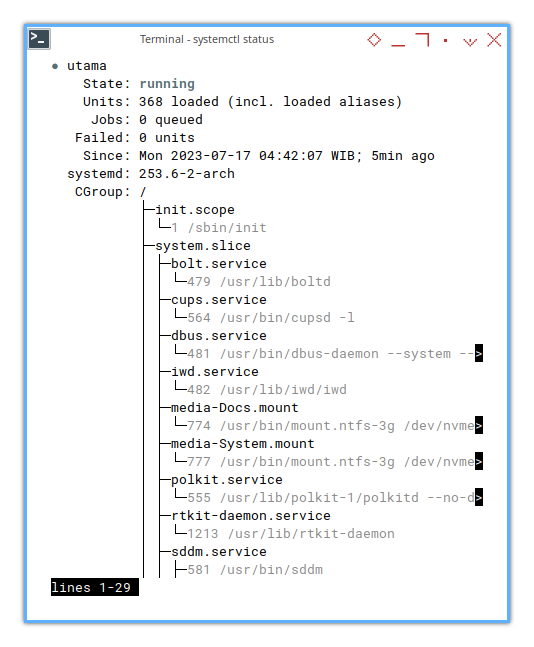
You need proper privilege to change service state.
❯ systemctl enable iwd
==== AUTHENTICATING FOR org.freedesktop.systemd1.manage-unit-files ====
Authentication is required to manage system service or unit files.
Multiple identities can be used for authentication:
 1.  epsi
 2.  rizqi
Choose identity to authenticate as (1-2):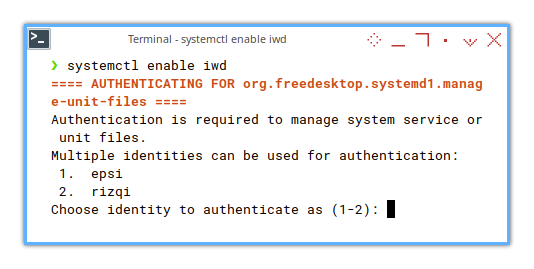
Just don’t forget the magic sudo word.
❯ sudo systemctl enable iwd
Created symlink /etc/systemd/system/multi-user.target.wants/iwd.service → /usr/lib/systemd/system/iwd.service.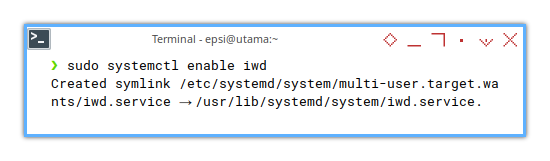
Basic Tools
Additional Packages
I put my basic tools here,
I need the rankmirror available in pacman-contrib,
the lsusb available in usbutils,
the git and base-devel to build yay.
And at last man to read the manual.
just in case I have an issue and require troubleshooting.
❯# pacman -S pacman-contrib tree
❯# pacman -S usbutils
❯# pacman -S git base-devel
❯# pacman -S man-db
I should rmind myself to visit,
the manual of the man command regularly.
❯# man man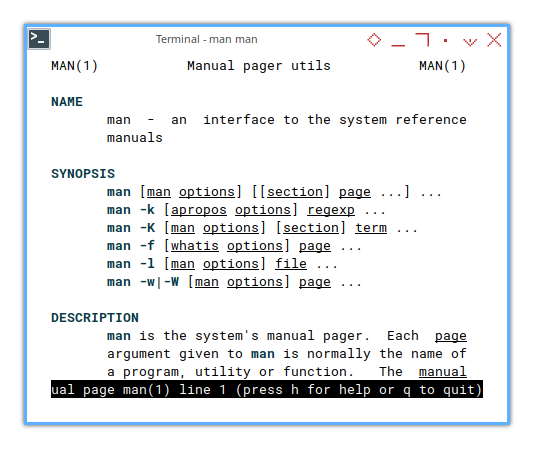
That is all.
AUR
Arch User Repository
I choose yay to manage AUR.
And just find out that there is already,
this easy to use yay-bin.
First we have to clone the git source.
❯ git clone https://aur.archlinux.org/yay-bin.git
Cloning into 'yay-bin'...
remote: Enumerating objects: 414, done.
remote: Counting objects: 100% (414/414), done.
remote: Compressing objects: 100% (274/274), done.
remote: Total 414 (delta 138), reused 408 (delta 138), pack-reused 0
Receiving objects: 100% (414/414), 90.93 KiB | 221.00 KiB/s, done.
Resolving deltas: 100% (138/138), done.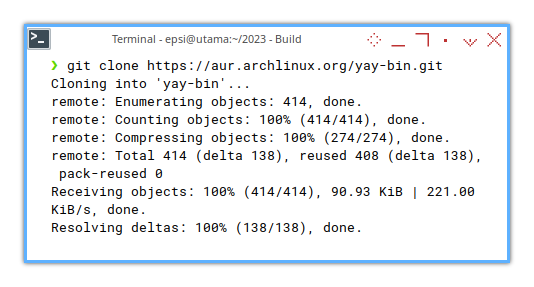
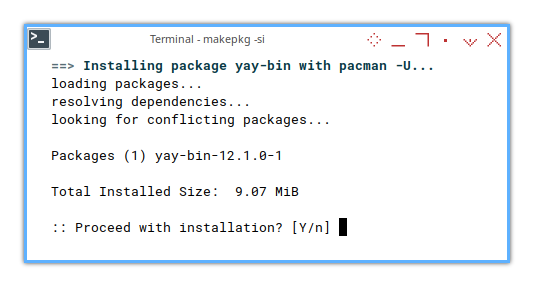
Then makepkg.
This is going to be a long message.
$ cd yay-bin
$ makepkg -si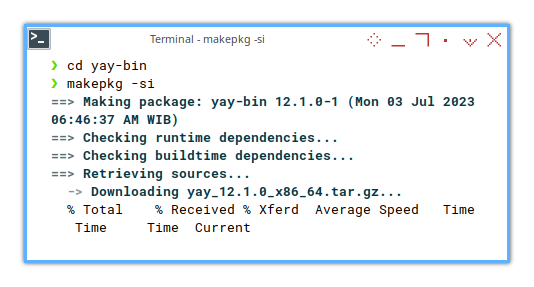
Then the yay can just run.
❯ yay
:: Synchronizing package databases...
 core                  134.0 KiB  65.9 KiB/s 00:02
 extra                   8.3 MiB   761 KiB/s 00:11
:: Searching AUR for updates...
:: Searching databases for updates...
Well, I love to see compilation in my terminal, so much.
What is Next 🤔?
After basic administration and GUI, we can go back setting our arch linux, to work coexist with pre existing partition, in a multiboot situation.
Consider continue reading [ Arch: Multiboot ].