Preface
Tutor Two: XPM Solid Border
No icon yet, we will create a solid border, along with a hole beside the border.
Hints: Use mogrify to convert from PNG to XPM
Table of Content
-
Preface: Table of Content
1: Unified Graphic Material
This is the Inkscape Part.
Inkscape Document
SVG source available at:
SVG Filename
Copy our previous document and name it as tutor-02-solid.svg, or anything you desire.
Box Size
We are using 10px border for this theme.
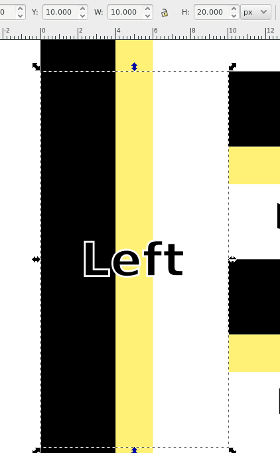
Open the SVG file, and select Left box.
You can see the size is [W*H = 10px * 20px].
Layer
Create new layer named, theme, or anything you want.
Create Solid Border, above the Left box.
We are going to divide the 10px width into three area
-
4px: Black (#000000ff)
-
2px: Yellow500 (#fff176ff)
-
4px: Leave it empty, no object.
The Box.
Continue for each box, until all border finished as a whole.
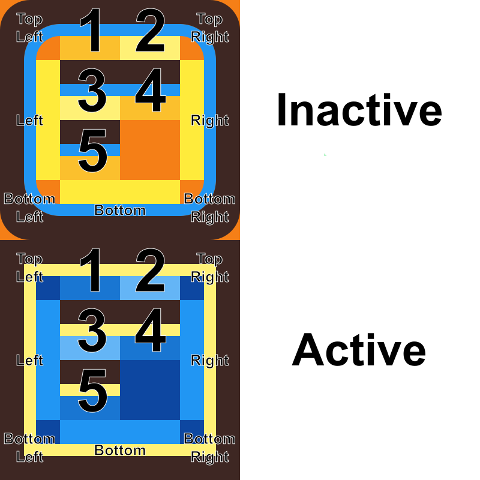
Inactive Border
Add rounded corner. It require inkscape tools, such as Path - Difference.
Export PNG
This is a tricky part.
In general, to export the PNG, you must hide both name layer and background layer.
We do not want any text in PNG. And we want to export the empty space as transparent in PNG.
Now the tricky part, for each border box parts.
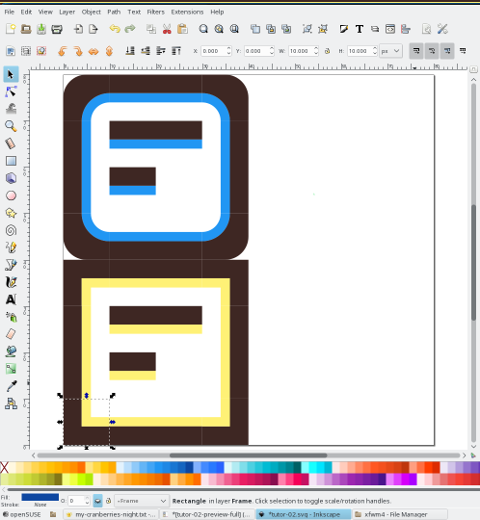
We must select the box first,
so we can have the export target filename such as bottom-left-active.png.
Then we have to hide the frame layer, because we want empty space as transparent.
You can see the selection in figure below.
The next thing to do is to click the export button to export PNG.
Do export for each boxes. Or even better to select all shapes in frame layer, then use Batch Export later.
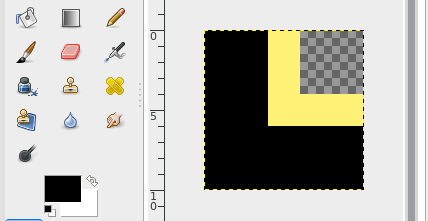
Check The Result
You can see the transparent result in GIMP, just zoom with 16:1, it will be something like this.
2: Checking Out The Theme
This is the XFWM Part.
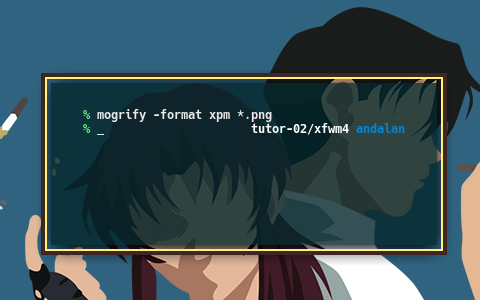
Mogrify
The last thing to do is to convert PNG files to XPM. You can do this using mogrify, from ImageMagick.
$ mogrify -format xpm *.png- .
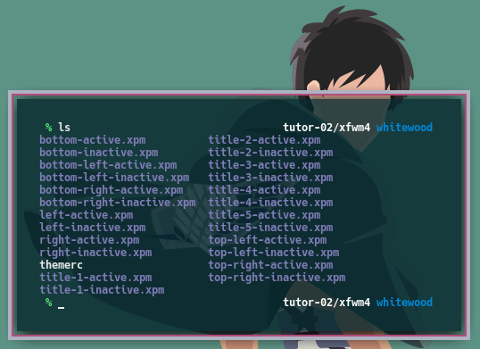
Now you can safely delete all the PNG file.
Inside XPM
It is like a C language script document.
/* XPM */
static char *bottom_left_active[] = {
/* columns rows colors chars-per-pixel */
"10 10 3 1 ",
"  c black",
". c #FFF176",
"X c None",
/* pixels */
"    ..XXXX",
"    ..XXXX",
"    ..XXXX",
"    ..XXXX",
"    ......",
"    ......",
"          ",
"          ",
"          ",
"          "
};- .
Changing XPM
I would like to change the code from X to space,
so empty transparent area will be represented as space instead on any character.
With my Geany as favorite text editor I can open all XPM, and do search and replace at once. No magic required, my XPM will be looks like this below.
/* XPM */
static char *bottom_left_active[] = {
/* columns rows colors chars-per-pixel */
"10 10 3 1 ",
"@ c black",
". c #FFF176",
"  c None",
/* pixels */
"@@@@..    ",
"@@@@..    ",
"@@@@..    ",
"@@@@..    ",
"@@@@......",
"@@@@......",
"@@@@@@@@@@",
"@@@@@@@@@@",
"@@@@@@@@@@",
"@@@@@@@@@@"
};- .
Now the looks of my XPM, seems make sense.
GTK Feature in XPM.
The idea of XPM, is that we can add color feature,
overriding the hardcoded hexadecimal RGB setting.
With GTK, we can add active_color_1 and active_color_1.
Consider change this part.
static char *bottom_left_active[] = {
"@ c black",
". c #FFF176",
"  c None",
}
It is easy when you master your text editor. Just do search and replace to get this looks below.
static char *bottom_left_active[] = {
"@ c black s active_color_2",
". c #FFF176 s active_color_1",
"  c None",
}
Now, the complete XPM would be as below
/* XPM */
static char *bottom_left_active[] = {
/* columns rows colors chars-per-pixel */
"10 10 3 1 ",
"@ c black s active_color_2",
". c #FFF176 s active_color_1",
"  c None",
/* pixels */
"@@@@..    ",
"@@@@..    ",
"@@@@..    ",
"@@@@..    ",
"@@@@......",
"@@@@......",
"@@@@@@@@@@",
"@@@@@@@@@@",
"@@@@@@@@@@",
"@@@@@@@@@@"
};- .
Do it for each XPM.
Result
The border would follow the color of your GTK appearance, instead of just Yellow.
We are done with solid border.
What’s Next
Tutor Three, Minimalist PNG Button. We are going to have our very first functional theme. This will be equipped with icon, but with minimalist design. Consider reading [ Part Three ].